


Mastering the Art of Needlepoint: Tips for Perfect Belt Stitching
Needlepoint is a craft that blends artistry and function, creating unique pieces that stand out for their detail and personal touch. It's been practiced for centuries, but today, it’s enjoying a fresh wave of popularity, especially among younger generations discovering the satisfaction of slow, hands-on creativity.
In fact, posts on TikTok with #needlepoint were up 400% in the first 10 months of 2024 compared to 2023, signaling a sharp rise in interest for this timeless craft.
One of the most cherished products of this art form is the needlepoint belt. They’re not only stylish and durable but also make for highly personalized gifts or keepsakes that carry the maker’s unique touch.
Whether you’re just getting started or you're looking to refine your skills, this guide will walk you through the essentials of needlepoint belt stitching.
The Basics of Needlepoint for Belts
Before getting into intricate designs, it’s essential to understand the foundation of needlepoint and why it is widely considered for belts.
Understanding Needlepoint
Needlepoint involves stitching yarn through the holes of a canvas to create a design. It's done with a needle and thread, typically on a stiff canvas designed for embroidery. This technique allows for intricate and durable designs.
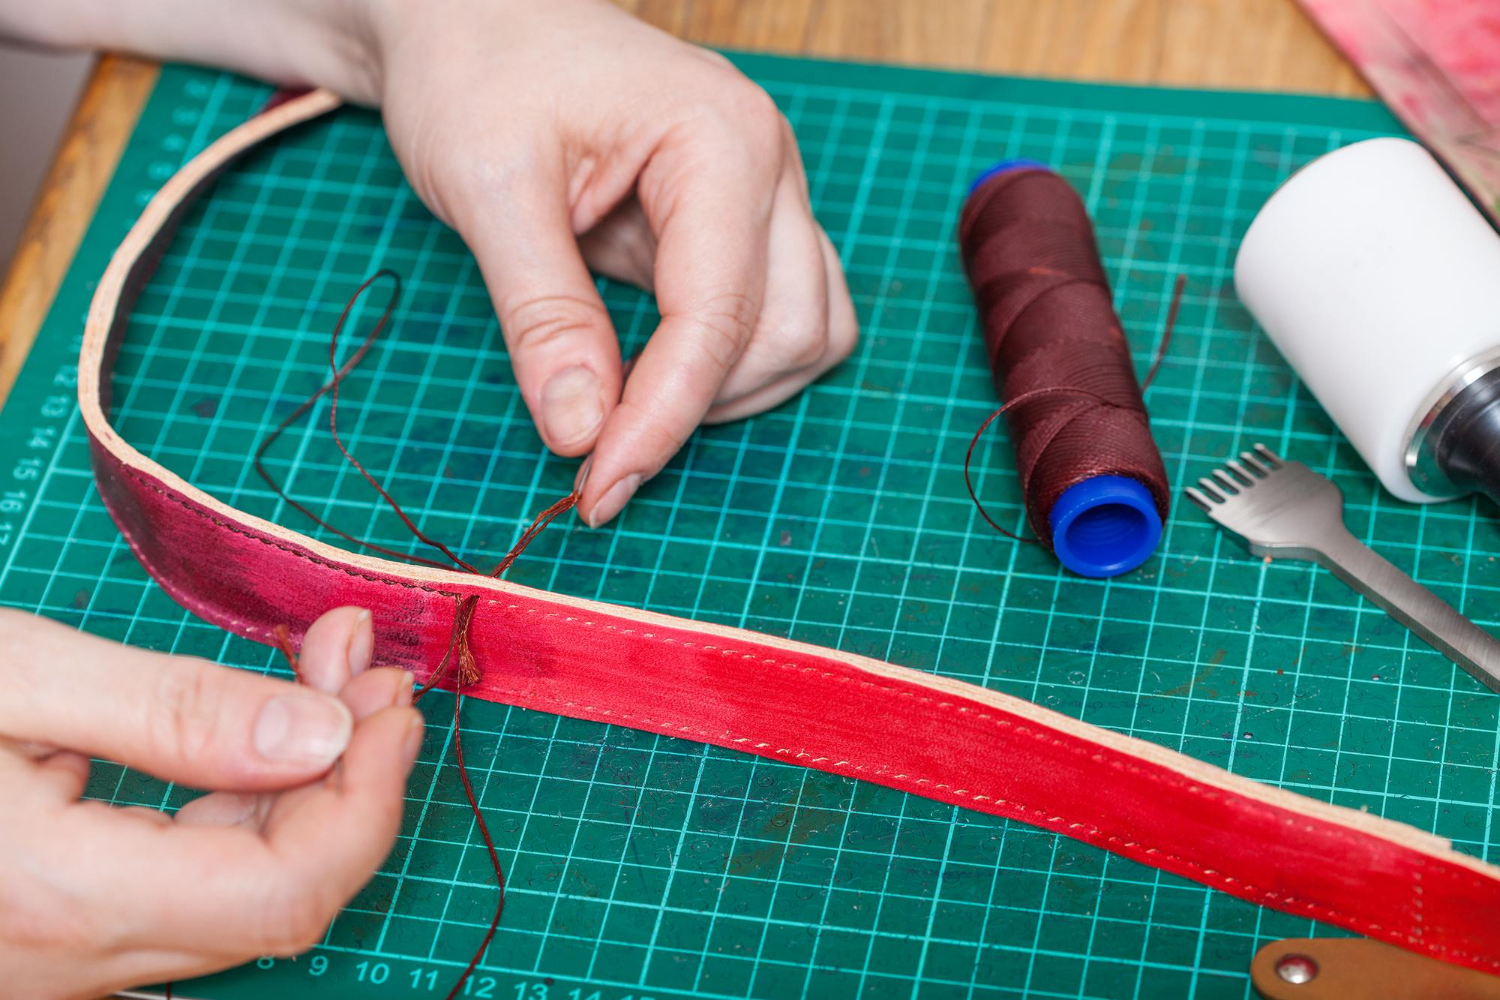
The canvas commonly used for belts is an 18-count mono canvas, which provides a smooth base for stitching and ensures that the design will be strong enough to withstand wear and tear. After the design is stitched, it’s backed with leather to create a finished belt.
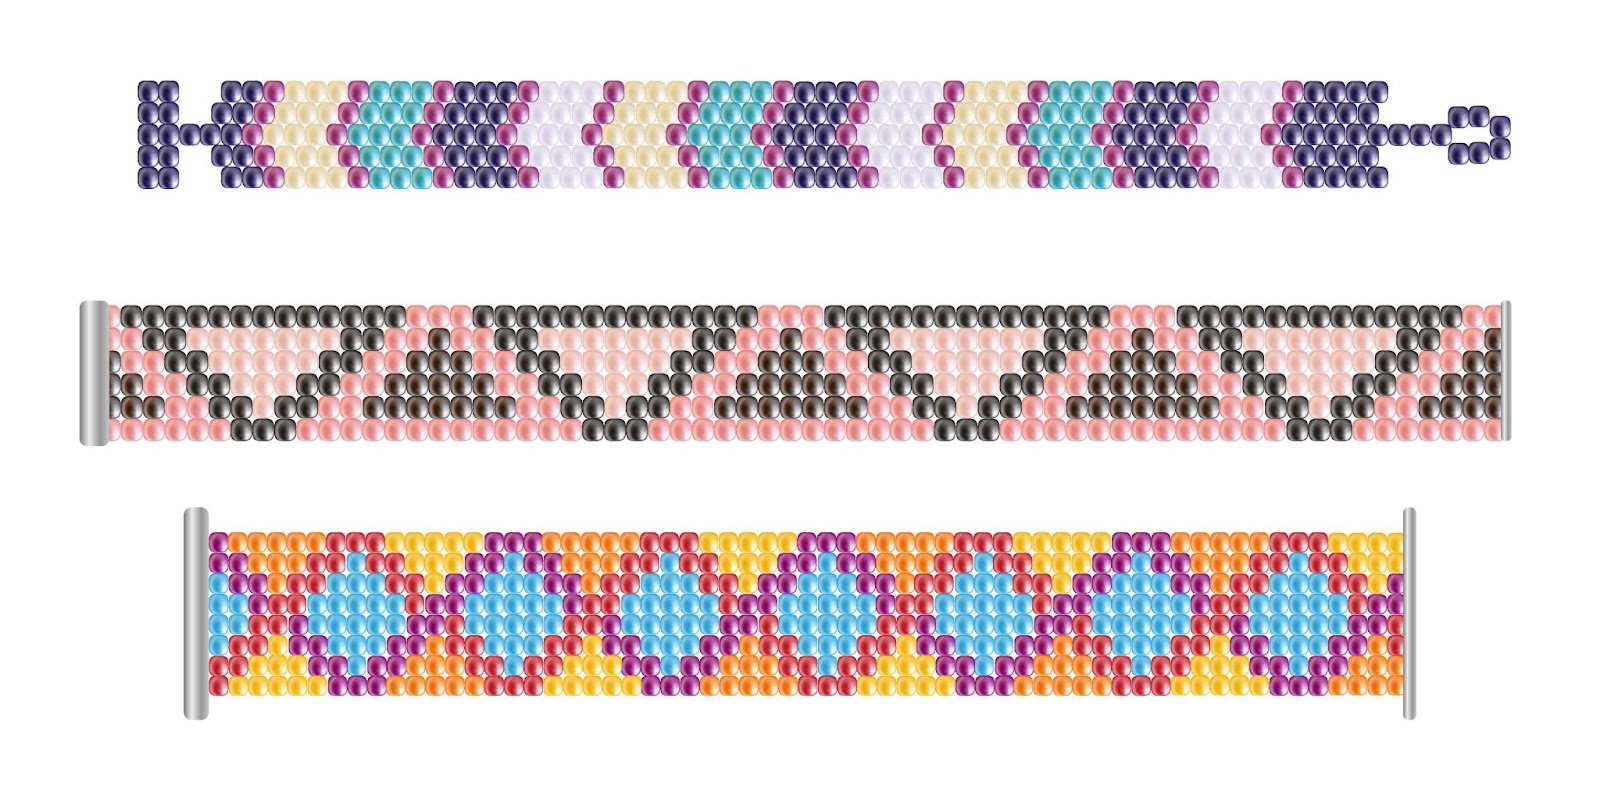
Types of Needlepoint Stitches
There are various types of needlepoint stitches used in different projects, but for belts, you’ll want to focus on the basics:
-
Tent Stitch – This is a diagonal stitch that’s simple to learn and ideal for creating sturdy, flat designs on belts.
-
Basketweave Stitch – A variation of the tent stitch, it’s excellent for providing an even texture, making it perfect for larger areas.
-
Continental Stitch – Another diagonal stitch that’s easy for beginners, though it requires more precision to avoid distorting the canvas.
-
Florentine Stitch – Used to add a more decorative touch, this stitch can be great for borders or small accent areas on your design.
Mastering these needlepoint stitches for beginners is essential to creating a well-constructed belt that’s both durable and visually appealing.
Avoiding Common Mistakes in Belt Stitching
Even experienced crafters can run into a few common pitfalls when working on a custom needlepoint belt. Here’s how to avoid them:
1: Uneven Stitch Tension
One of the most frequent issues in needlepoint is uneven stitch tension. If your stitches are too tight, the canvas may warp. If they’re too loose, the design may not look as neat. Make sure to keep a consistent level of tension throughout the stitching process.
2: Misaligned Stitches
Even the smallest misalignment can disrupt the overall design, especially if you’re stitching text or symmetrical patterns. Take your time and make sure each stitch aligns properly with the pattern to maintain a clean look.
3: Incorrect Thread Choice
Using the wrong thread can lead to faded or weak designs. Opt for strong, colorfast threads designed for needlepoint and wearable items. High-quality wool or cotton threads are generally best suited for belts, as they can withstand the daily wear that belts typically undergo.
4: Knots and Tangles in Thread
Knots in your thread can cause noticeable bumps, while tangles can be frustrating to untangle and may lead to uneven stitching. Instead of tying knots, try using away knots that you can later weave into your design once it’s stitched over. This will result in a smoother, cleaner finish.
Overstitching or Understitching
Overstitching can make the design too dense and stiff, while understitching can leave gaps. Follow the instructions carefully and ensure you’re using the appropriate number of stitches for each area.
Not Using the Right Stitching Tool
Using the right tools is crucial to achieving a neat result. They make it easier to control your stitches and ensure the design remains straight.
Achieving Excellence: Tips for Stitching the Perfect Needlepoint Belt
Whether you buy or make a custom needlepoint belt, the quality of your stitching and materials makes all the difference. Let’s look at how to improve your technique:
Choose the Right Canvas and Thread
1: 18-count mono canvas provides fine detail while maintaining strength. For thread, use durable, colorfast wool or cotton blends that can handle the regular wear that comes with a belt.
2: Use a Belt Frame or Stretcher Bars
A belt frame or stretcher bars are essential for keeping the canvas tight and preventing it from warping as you work. This allows you to maintain consistent stitch tension and ensures the final product looks polished.
3: Start from the Center
Starting your stitching from the center of the canvas ensures your design is symmetrical. This is particularly important if you’re stitching a monogram, logo, or other central elements.
4: Master the Tent Stitch
The tent stitch is the foundation of most needlepoint projects, including belts. It’s simple yet effective for creating clean, durable designs. Once you’ve mastered this basic stitch, you can experiment with other techniques.
5: Manage Color Blending
Blending colors smoothly is key to a professional finish. You can blend colors by alternating between strands or using gradient threads to create a seamless transition between colors. This works especially well in backgrounds or when shading certain areas.
6: Stitch Clean Borders
The borders of your design will frame your work, so they need to be neat and well-defined. Consider using a darker thread for the border to create contrast and help the design to stand out.
7: Maintain Consistent Stitch Tension
Regularly check to ensure that each stitch is even and not too tight or loose. This will result in a polished and durable belt.
8: Finish the Belt Professionally
Once your stitching is complete, it’s important to finish the belt professionally. The canvas should be blocked to ensure it’s even, and then it can be attached to a leather backing. If you're unsure about how to complete this step, professional finishing services are available to ensure your belt is ready for use.
Conclusion
Creating a needlepoint belt is a gratifying project. It allows you to express your creativity while also producing a highly functional accessory. By understanding the basics, avoiding common mistakes, and applying best practices, you can create a stunning belt that reflects your skills and personality.
With patience and attention to detail, you can achieve a level of craftsmanship that’s both beautiful and durable. Whether you're gifting your creation or adding it to your personal collection, a well-made needlepoint belt is sure to stand the test of time.
For those who want professional-grade materials and designs, Good Threads offers expertly curated needlepoint to elevate your project from good to great.
